Member-only story
Walk-through — install Kubernetes to your Raspberry Pi in 15 minutes
Here’s something you can do before work, with your morning coffee, or whilst waiting for dinner to cook of an evening. And there’s never been a better time to install Kubernetes to a Raspberry Pi, with the price-drop on the 2GB model — perfect for containers.
I’ll show you how to install Kubernetes to your Raspberry Pi in 15 minutes including monitoring and how to deploy containers.
Updates:
- Dec 2020 — added
cmdline.txtinstructions for cgroups andssh-copy-id - Jan 2021 — added multi-arch
faas-cli publishcommand instead offaas-cli upto use new templates and Docker buildx - Mar 2021 — Raspbian is now Raspberry Pi OS
The bill of materials
I’ll keep this quite simple.
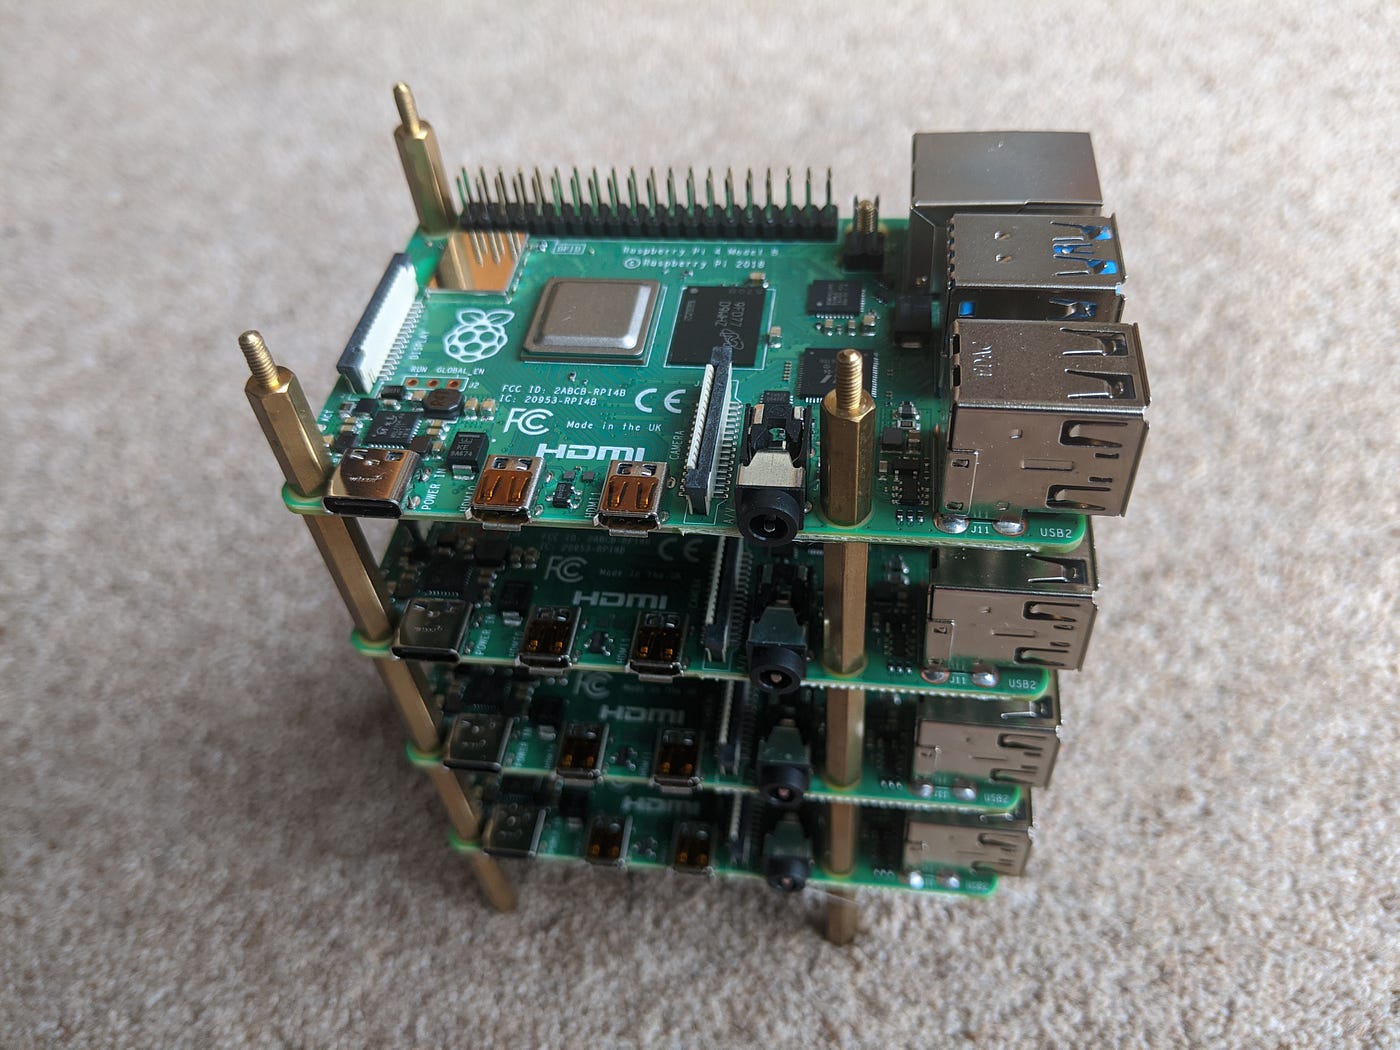
- Raspberry Pi 4, with 2GB or 4GB RAM — the 2GB is the best value, 4GB is best if you don’t plan on doing clustering.
- SD card — 32GB recommended, larger is up to you, but Kubernetes writes to disk a lot and could kill a card, so I tend to prefer buying more smaller cards.
- Power supply — you need the official supply, I know it’s expensive, but that’s for a reason. Don’t be cheap because you’ll buy twice.
- Docker Desktop — if you want to build your own images, you need to cross-compile them from a PC with buildx, do not install docker on your nodes.
If you’d like some links, you can find them in my home-lab post: Kubernetes Homelab with Raspberry Pi and k3sup.
Flash the initial OS
There are so many ways to install an Operating System, but I recommend Raspberry Pi OS and the Lite edition which ships without a UI.
Once you download the image, you can use Etcher.io from our friends at Balena to flash it without even unzipping it. How cool is that?
Before you boot up that RPi, make sure you create a file named ssh in the boot partition. If on a Mac you'll see that gets mounted for you as soon as you eject and re-insert the SD card.